My mission was to create a space where the kids have a “room” to play with their toys, play games, pretend, and generally just be kids. This notion is in contrast to my fundamental belief that kids don’t need many toys or special places to play.
As my theory goes, kids are inherently flexible and adaptable and will find ways to make believe and trinkets to turn into toys. While this is all very true, it is also just really nice for them to have a space that they can use as their own.
Design Elements
My original goal was a bit more lofty with wanting to have multiple levels that they can climb up on and through. I wanted to add a rope mesh barrier so they could not fall from the 3 or 4 different levels that I would install.
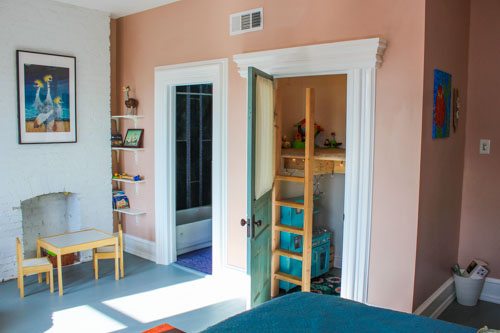
Upon looking really closely at how much space was available and the existing structures (mini door to the other closet as well as the door to get into this walk-in sized closet), I chose a much simpler design.
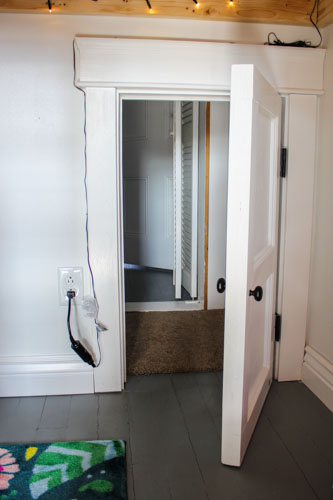
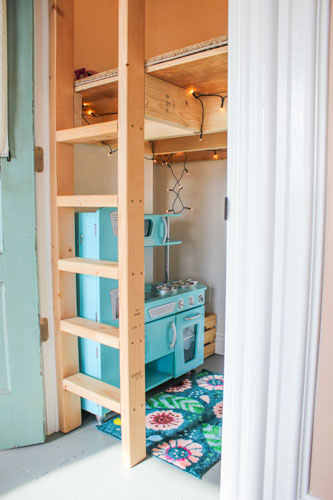
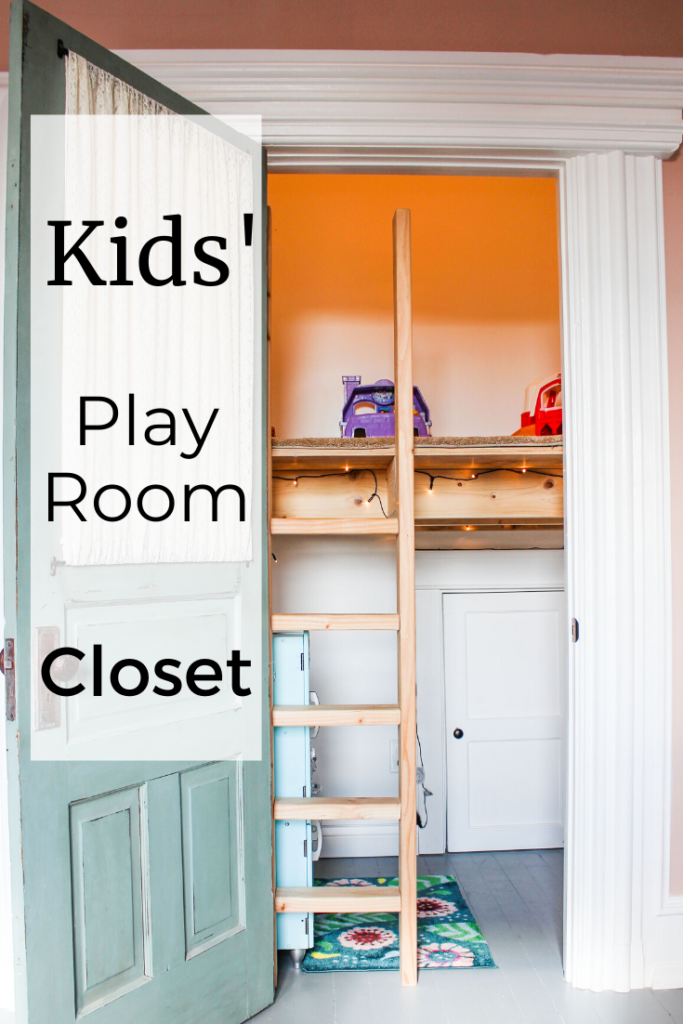
This simple lofted platform and ladder offered much of the climbing opportunities with way less work and safety risk. At the end of the day, I needed to be able to go in and grab a kid in case play time went sideways.
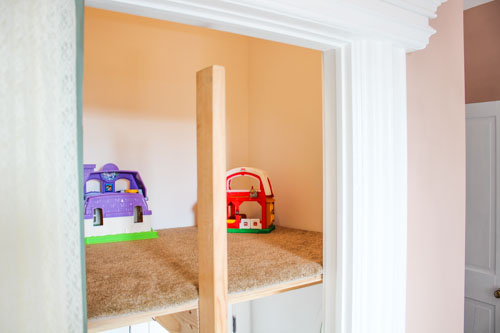
Additionally, this simple play space can be souped up with design elements. Ellie (3 years old) loved to have cubbies to put stuff in. Bash (5 years old) loved to have a place to play with toys. The additional levels were just not necessary.
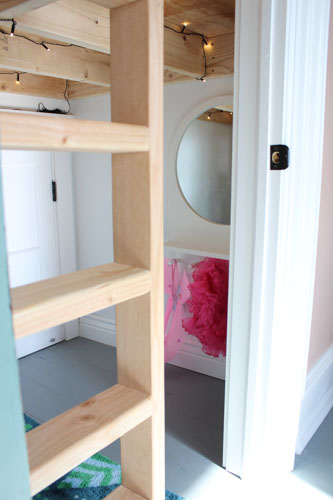
Jess went on Facebook Marketplace to purchase a used kitchen set, and it has provided hours of entertainment for the two of them (playing together!). Future improvements will include more little cabinets or cubbies.
Our design had to work around a little door that I installed that
How to Lock the Kids Out
Before finishing the design we knew we wanted to have a way to prevent the kids from using it in case they were getting out of hand or if we had younger kids over.
The elegant design choice that we made was to allow the closet door to close just less than an inch away from the ladder. This makes it so that no one can climb up the ladder if the closet door is closed. We will add a bolt lock on the exterior of the closet that the kids can’t reach.
The added benefit is that we can lock the closet door so that Ellie’s room can be used as a guest room if needed. There is a mini door between her closet and his. As a guest room, of course, you need to be able to hinder all kid access to the room.
Structural Design
The plan was for the platform to be able to hold our entire family of 4. This translated to using 2″x6″ lumber and ensuring all weight was supported by studs. I almost installed 2″x4″ legs, but I was very securely able to fasten 2″x6″ supports to the studs in the wall.
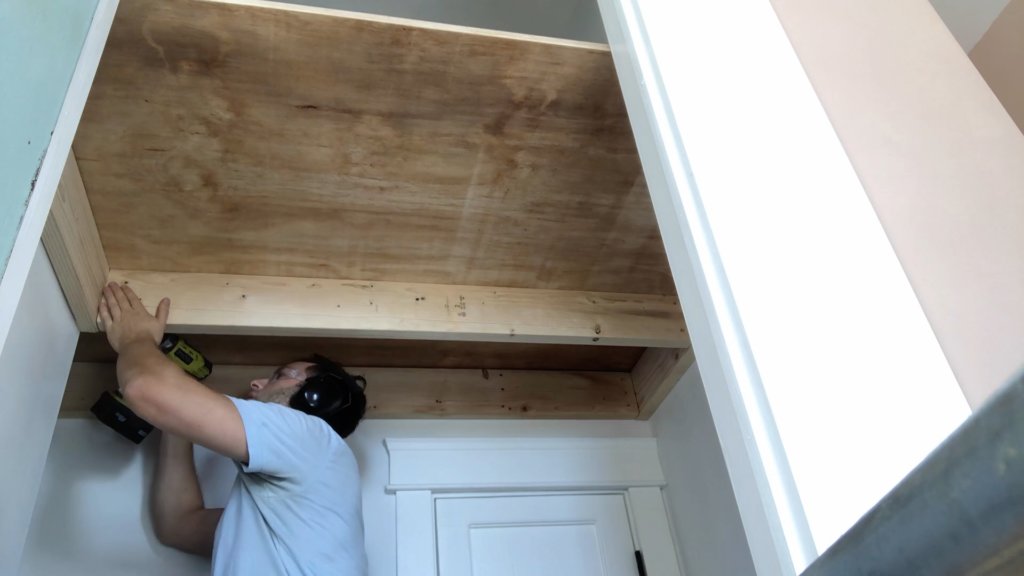
The joists were toenailed into the wall supports. If I had been thinking ahead of time I would have used deck joist hangers. But, with 3 screws into each end of a joist, we should be good.
Building the Loft
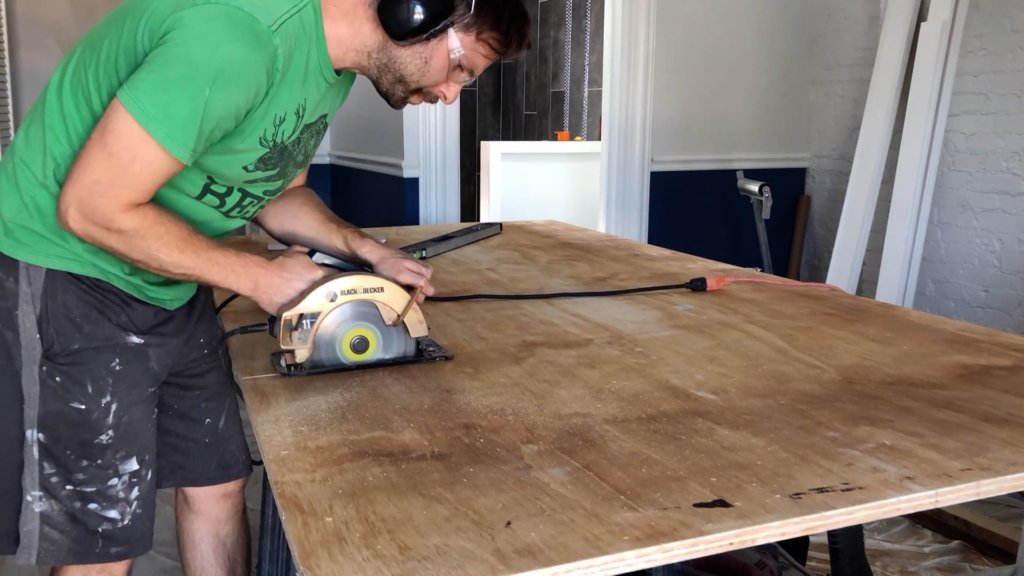
The first step was to cut the 3/4″ pine plywood to fit into the space. I had to account for a bit of non-squareness, so there were a few followup cuts to get it to fit.
Then, I cut the end supports out of 2″x6″ pine. I spent an extra 5 minutes at Lowes making sure that the boards were fairly straight and in good condition. I had to pass on a few curved or split boards. I can only imagine this is a pain for the employees, but it is a critical part of any successful wood project.
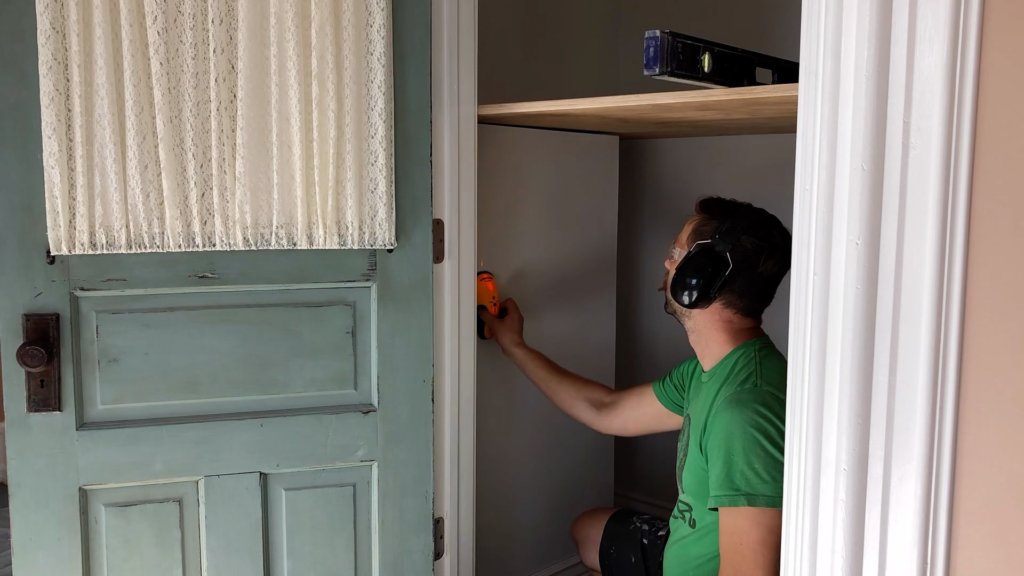
Because these end supports would be holding the weight transferred to them from the joists, securing them to the studs was extremely important. I used three 3-inch screws into every stud I could find.
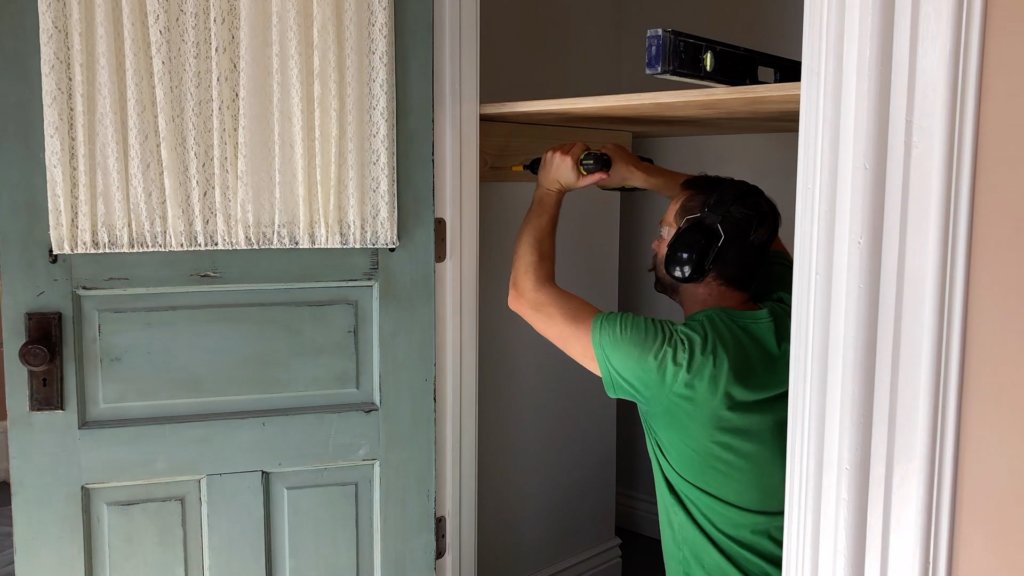
And, if you haven’t learned it yet, DO NOT use Phillips screw heads. The star shaped / Torx head are the best and easiest to use. I actually just recently learned that despite this being our second whole house I’ve remodeled.
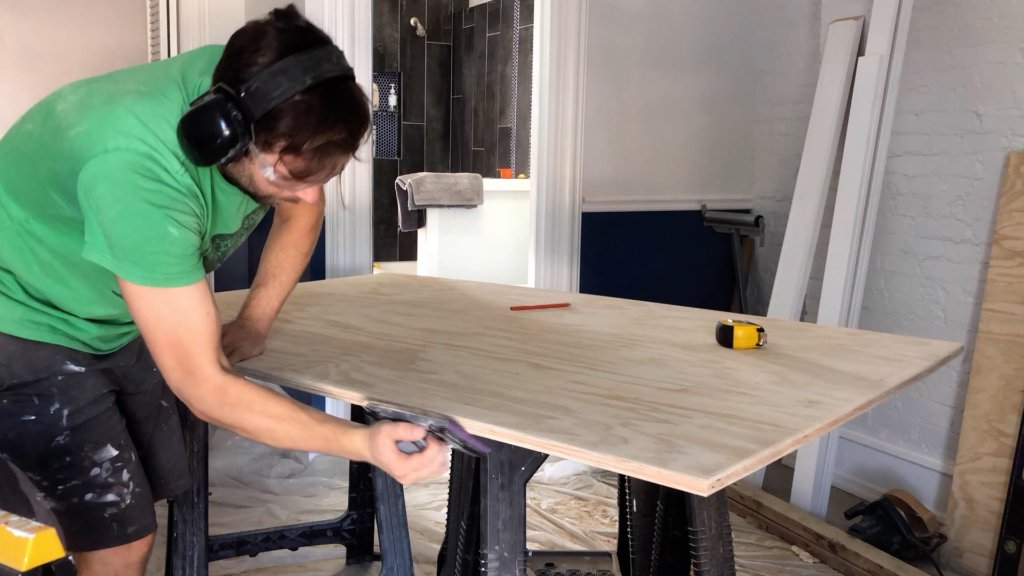
A task that needs to be done on every piece of wood is to thoroughly sand it. You don’t want any unnecessary splinters.
Upon having the end supports secured to the wall, I then cut and toenailed each joist into place. I was aiming for the same standards as subflooring: each joist needs to be spaced 16″ (or less) on center.
The last step was to screw the 3/4″ plywood into the joists.
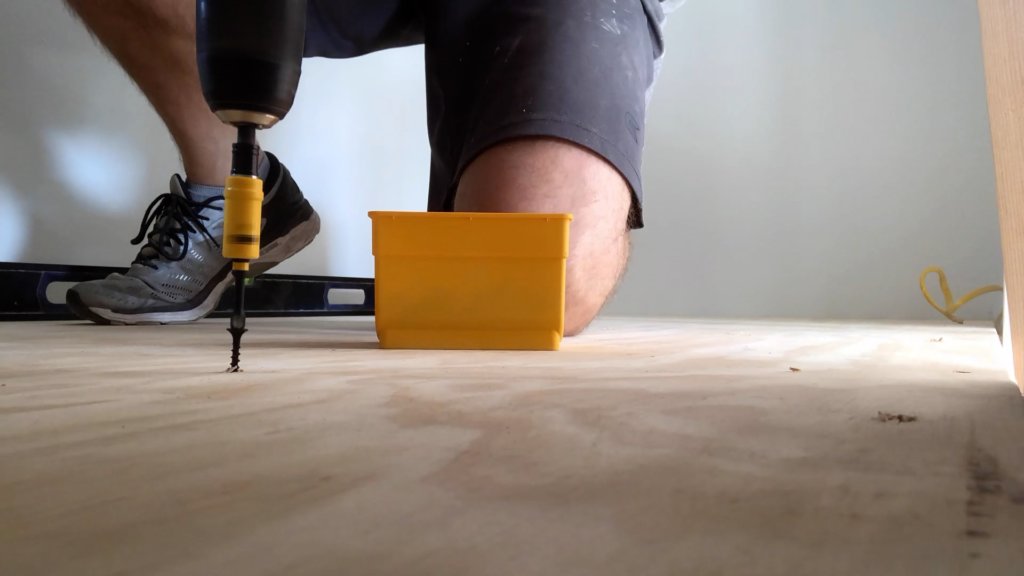
Creating and Installing the Ladder
The ladder’s width was designed to take up half the width of the closet entrance. The height was extended a bit higher to provide a little more fall protection when a kid is up on the loft.
I cut all the rungs of the ladder at the same time and used two screws for each side of the rung. I made sure that all parts of the ladder were well sanded prior to assembling.
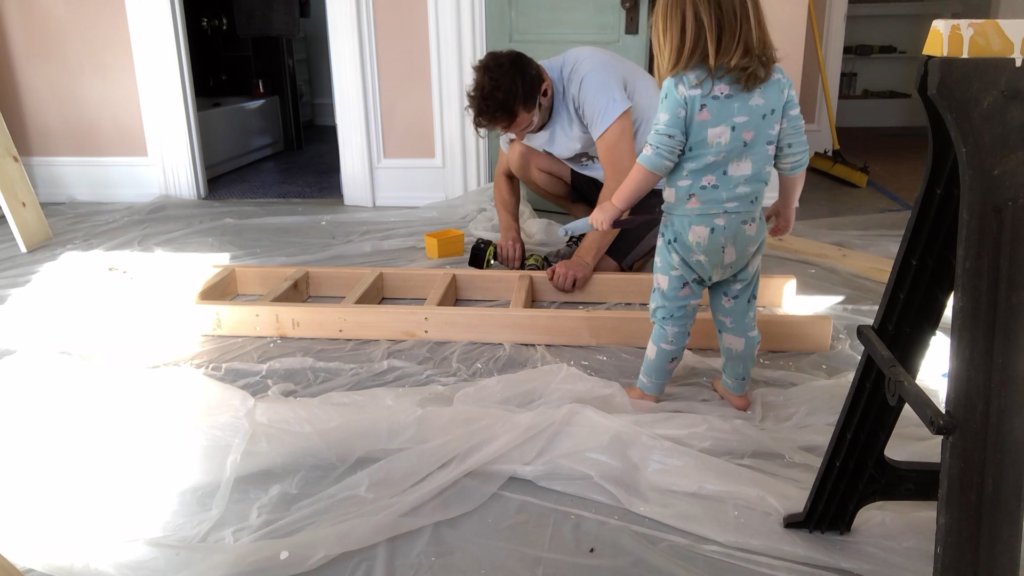
I had to create a few more 2″x6″ pieces to have strong supports for the ladder to attach to. I am also actually using one of the legs of the ladder to support the front of the platform. I did this because I don’t have a joist at the very front of the platform because it would force an adult to have to crouch even lower upon entering the bottom space.

Final Decorations
We added a kitchen set to the bottom floor. It turns out that the most important features of a kitchen set is the number of cabinets (microwave, oven, a few cabinets – all have doors)! They love to put stuff in them (aka lose track of all their belongings).
Carpet is a nice feature on the left. I went to a flooring store that sells remnants. I bought the cushiest carpet I could find and had them “bind” it, which means that they stitch some fabric around the outside to keep it from unraveling. The going rate at this store for binding is $2/linear foot, and the carpet was about $1.50 per sq ft. The remnant carpet was a great deal, because buying that same quality from Lowes would be about $4/sq ft.
There will be more cubbies to come, but this got the kids playing and having fun for hours
Conclusion
I want to leave you with two thoughts as you are planning your kids’ play space, whether it be in a closet or a whole room. Keep it simple. And, use decorations to enhance the space.
The multi-level design I originally had in mind would have been nice, but this simple design is way better. I can go and grab a kid fairly easily if need be. It is relatively safe. It was simple to build.
IF there are any shortcomings in the design, the final decorations will more than make up for it. The kids love the toys and trinkets that they can fit into their new space.
So, have fun and enjoy the build.
But, please do let me know how your project goes! DM me a picture or video on Instagram!


You must be logged in to post a comment.