[We are a participant in the Amazon Services LLC Associates Program. As an Amazon Associate we earn from qualifying purchases at no cost to you. This is how we keep producing valuable content]
This is the biggest hassle with flying with kids! A quick google search about car seats and flying will send you down a rabbit hole of all the terrible things that can happen to your kids mixed with what amounts to threats and belittling from other parents.
I’m going to outline our car seats strategy as it changed over time and with the destination. I will explain everything that we have learned from those who have done this before us and how we arrived at our decisions. I’ll start with the early years and how the strategy changes as more kids come along. Feel free to skip down to the section that applies to you currently.
And remember the bonus that comes with flying with kids – family boarding is usually after the preferred sections but before the majority of the plane. We always fly Southwest (because we use Companion Passes that we acquire from credit cards), and family boarding is after the A section and before B and C.
Flying with 1 Infant
The first decision you need to make is if you want the car seat at the destination. With an infant, I’m assuming you are working with an infant (aka pumpkin) seat. The only time you don’t want to have the infant seat with you at the destination is if you are only going to be taking public transportation and don’t need it for comfort, but chances are you’ll want the car seat. I know our oldest would always nap well in his infant seat.
Next, should you check the car seat or bring it on the plane? This is where things start to get nasty. I’ve read that checking the car seat amounts to a similar amount of damage as a car accident and the seat must be thrown away. If you listen to the internet: if you check your car seats, then you are a bad parent.
I’m sure this is assuming the worst case scenario in terms of handling, but it’s not great to have to mess with. It was recommended to us that if you do have to check a car seat, put it in a cardboard box for a bit of protection.
Can You Take the Car Seat on the Plane?
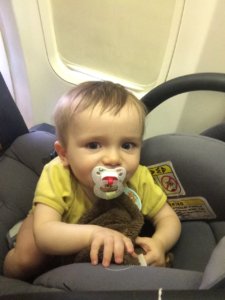
On the other hand, taking the car seat onto the plane sounds daunting. But, in fact, this was always our preferred option. What you need to know is that it is very possible to bring on the car seat even if your kid is a lap child (didn’t pay for a ticket, aka under 2 years old).
Before we tried this, we thought we weren’t allowed to bring a car seat on if we didn’t have a ticket for the kid. That’s not true! But, you do need to get a little lucky.
How to Take the Car Seat on the Plane
Upon arriving at the gate (a little early if possible), we ask the agent if it is a full flight or if it’s ok if we take the car seat on. Tip #1: Make sure that you phrase it as those are the only two options. Tip #2: Make sure the agent can see your cute baby’s face.
I would say we were successful about 70% of the time. And, the flight is waaayyy easier if the kid is strapped down nice and cozy in their familiar car seat.
It is pretty straightforward taking the infant seat onto the plane. It needs to go in a window seat or center of a middle section. It needs to not block anyone’s passage in case of an emergency.
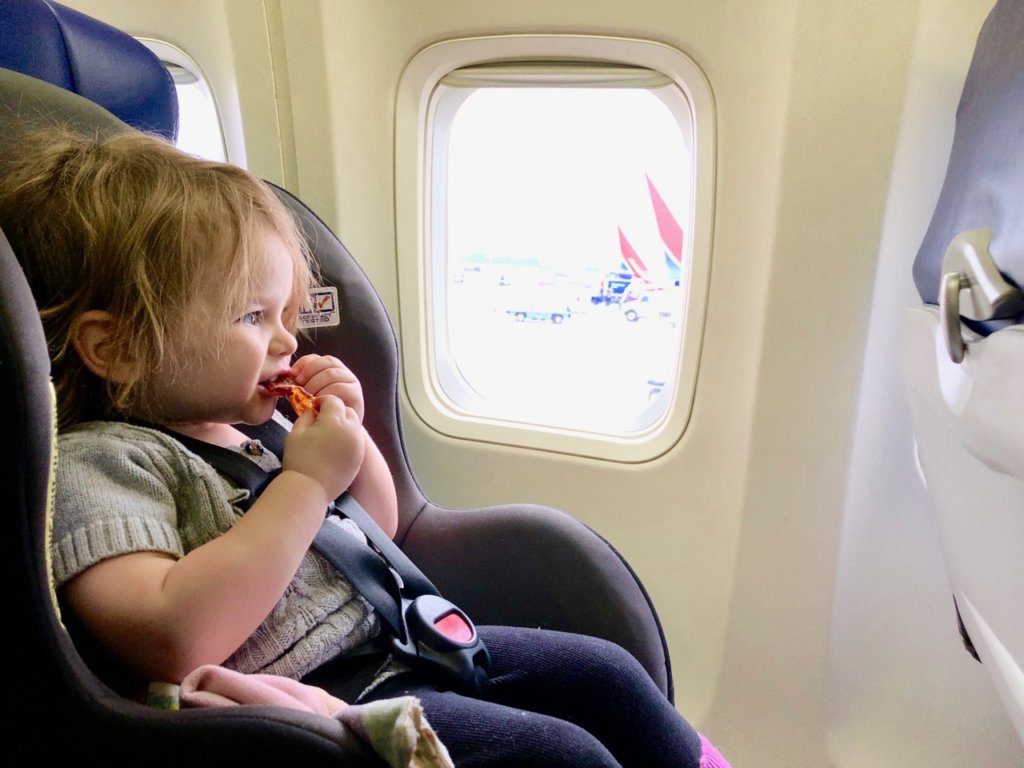
The child sits rear-facing (as they would in a car) and you use the lap belt to secure the seat down just as a seat belt would in a car.
Before attempting to bring on the car seat, though, make sure that it is FAA rated. It will say “This restraint is certified for use in motor vehicles and aircraft” on it. We did get asked many times by flight attendants if ours was approved. We always answered with a confident “yes” confirming we knew exactly what they were talking about and we had already checked. They never stopped to inspect it themselves.
One infant, one seat is the simplest scenario here.
1 Infant Seat, 1 Convertible Seat
Things get a lot more complicated when the second one comes along! You know that the infant has to be in the infant seat. The question is what to do with the older one. And, that will depend on what the age difference is. Our kids are 19 months apart, yet they are both quite small.
Our oldest wasn’t big enough yet to fit into a booster seat. Just know that things get a lot easier when they can fit into a foldable booster seat or harness. I’ll get to that in a moment…
We had a period of time where we had to bring along the pumpkin seat and the convertible seat (can be front or rear-facing).
Our strategy was to gate check the pumpkin seat and carry on the convertible seat.
Gate Check the Infant Seat
The infant seat was the easiest to gate check – all we had to do was to take off any toys or covers attached to the handle and leave it at the bottom of the jetway. Additionally, either kid can go in the convertible seat, but only the younger one can go in the pumpkin seat. Lastly, we probably would have wanted to put the convertible seat in a protective bag – just one more complexity we wanted to avoid.
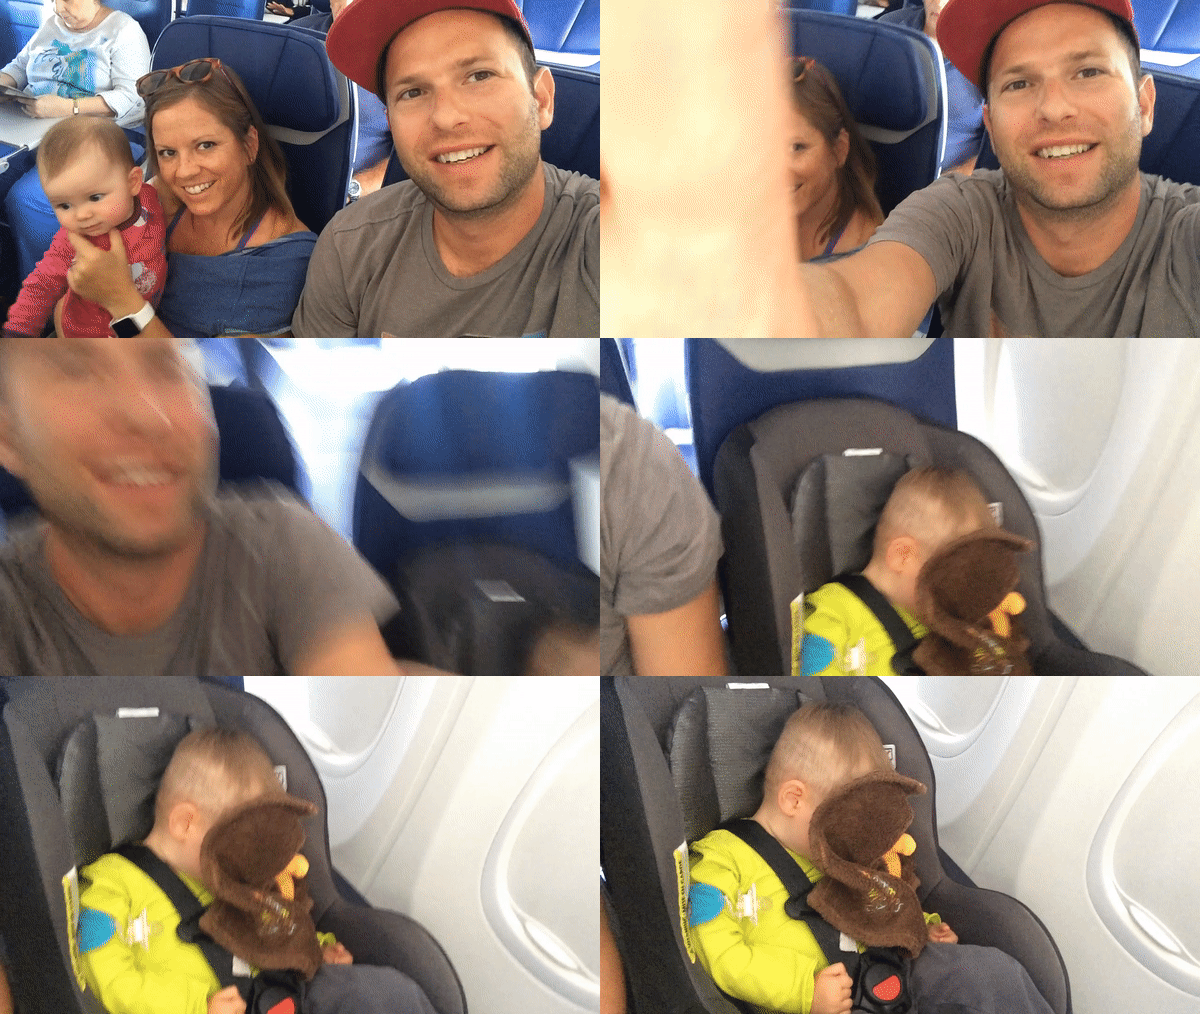
There were a few flights when we had two kids under two. So, we would ask the agent at the gate if we could bring on one seat (asking if the flight was full OR if we could bring on a seat… while showing our kids’ sometimes smiling faces 😉 ). There were a few times where we had to check both seats.
I will always remember the flight from Orlando to St Louis where we had two lap children, no car seats and we were running late, so we couldn’t even sit next to each other (on Southwest – no assigned seats). The plane was full of crying kids (because Orlando) and our kids were squirming on our laps. This might have been worse than the time I caught Bash’s throw up while in the air… but that’s another story.
As soon as you have a ticketed child, it becomes a little less stressful knowing that you WILL be able to bring on a car seat.
Get the Right Travel Stroller
We did two things to help alleviate the burden of hauling the car seats through the airports.
First, we got smarter with our choice of strollers. For the first couple of trips, we had a stroller (Buggaboo) that was not travel friendly. It was perfect for around the house and neighborhood, but it was not rugged enough and very difficult to break down for gate checking. A wheel broke off one time, and there were 3 pieces to it – not fun for transporting!
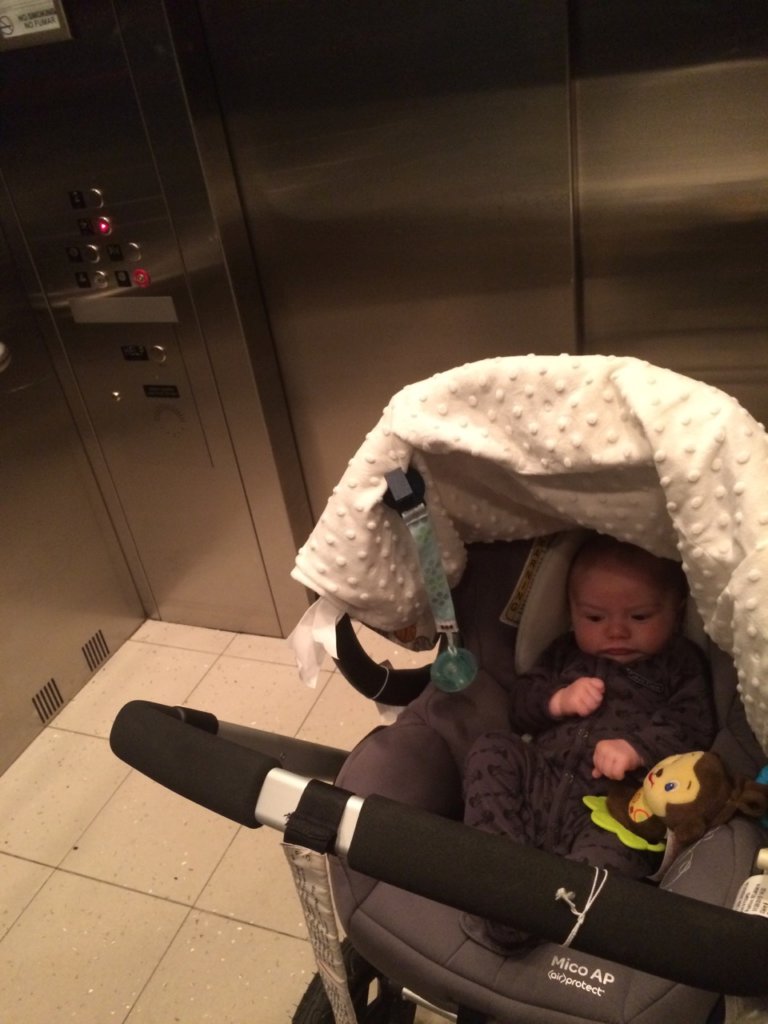
The stroller that we upgraded to for travel (and eventually became our everyday stroller) is the Mountain Buggy Nano. It is a tough, foldable stroller that fits in the overhead bin! It is a step up from an umbrella stroller but smaller than your standard stroller. The most important feature that you need for getting through the airports is being able to attach the infant seat to it.
It is very helpful to have the stroller through the airport, so you’ll want to gate check it or carry it on. We have put our Mountain Buggy Nano in the overhead compartments for at least 15 trips. About 70% of the time, the gate agent will ask us if it fits in the over head bins – a confident “yes” usually is satisfactory.
About 20% of the time, either the gate agent or a flight attendant will start by saying that strollers are not allowed on a plane – the appropriate response is either “the gate agent said it was ok” or “this definitely fits in the overhead bins; we do this all the time”. We have only been pressured into gate checking the foldable stroller once.
If you want to gate check, talk to the agent at the gate, and they will offer to put a tag on it to indicate that it’s ok for you to leave it at the bottom of the jetway just before you get on the plane. It will then be available for you at the jetway when departing the plane, although it will take a few moments for them to bring it out.
Strap the Car Seat to a Roller Bag
The second trick to getting through the airports easier was to use the Traveling Toddler Car Seat strap. It’s a very simple, 3 point strap that allows the convertible car seat to use its own straps to attach to a roller bag. Our kids loved riding through the airport, and we received soooo many comments on this as our kids were happily hauled through the airports. This is way better than lugging around the cart seat on your back or buying an expensive and space consuming cart to wheel the seat around.
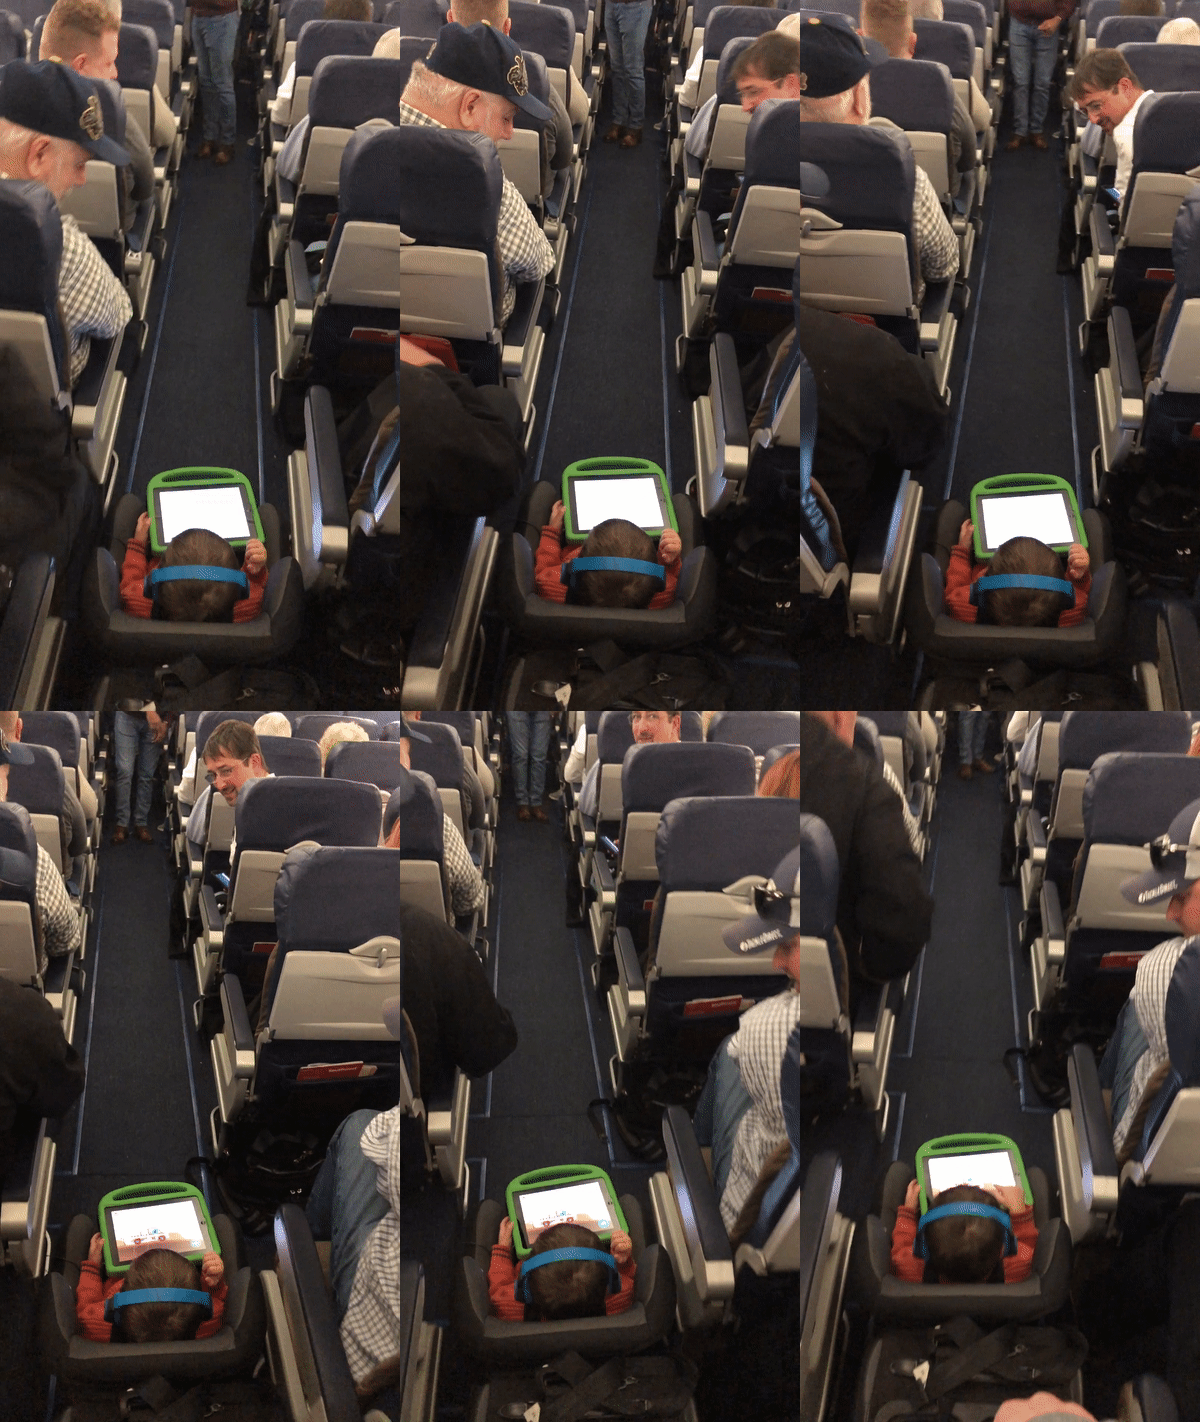
Life starts to get a lot easier when your kids are able to fit in a booster seat, or even a travel harness!
1 Infant or Child, 1 Booster Seat Child
Life in transit will change dramatically for you when your kids fit in a booster seat or perhaps (if your comfort level allows) a travel harness.
Yay, Booster Seats!
Our first booster seat was a Baby Trend Yumi 2 in 1 Folding Booster Seat. We wanted something that could fold up and be checked. This car seat is rated for kids as small as 40 lb and 38″ and does fold up quite nicely.
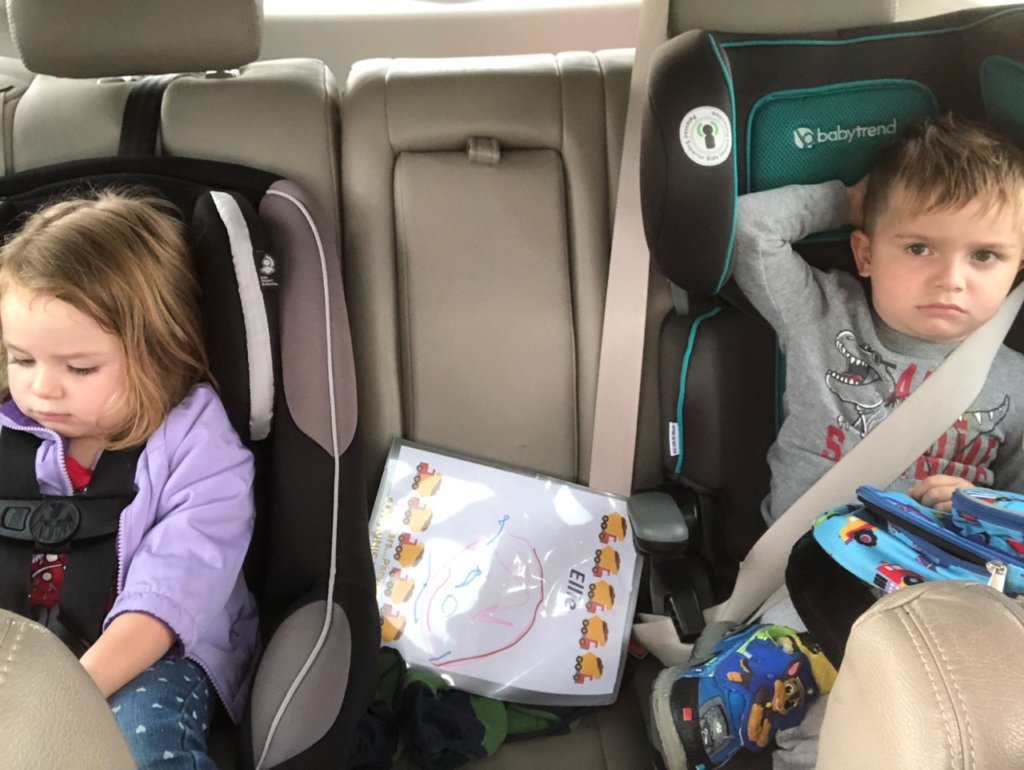
Driving to the airport, we would use our everyday, convertible seat, and we would have the Yumi packed in a bag ready to be checked. It fits nicely in a large checked bag. We wouldn’t need it again until we arrived at our destination. Make sure to tell the airline agent that the bag contains a car seat – it will almost always be free. It’s ok to put other stuff in there, too, just make sure to say it’s a car seat – they have never questioned us.
Introducing the Travel Harness
The high back booster seat is a welcomed change from the convertible car seat. I know we thought we were living the dream when we had one less car seat to bring through the airports! But, it gets even better! Backless boosters and a travel harness are an option. First, let’s talk about the travel harness.
In exchange for not having the side guides of the high back booster seat to ensure the seat belt stays in the optimal position, there is an option to use a travel harness. The only one on the market is called the Ride Safer Travel Vest. It is rated for children ages 3 and up and 30-60 lb and is fairly pricey (about $160). The concept of the backless booster seat and this harness is that as long as the car seat belts are positioned correctly, the child will be protected.
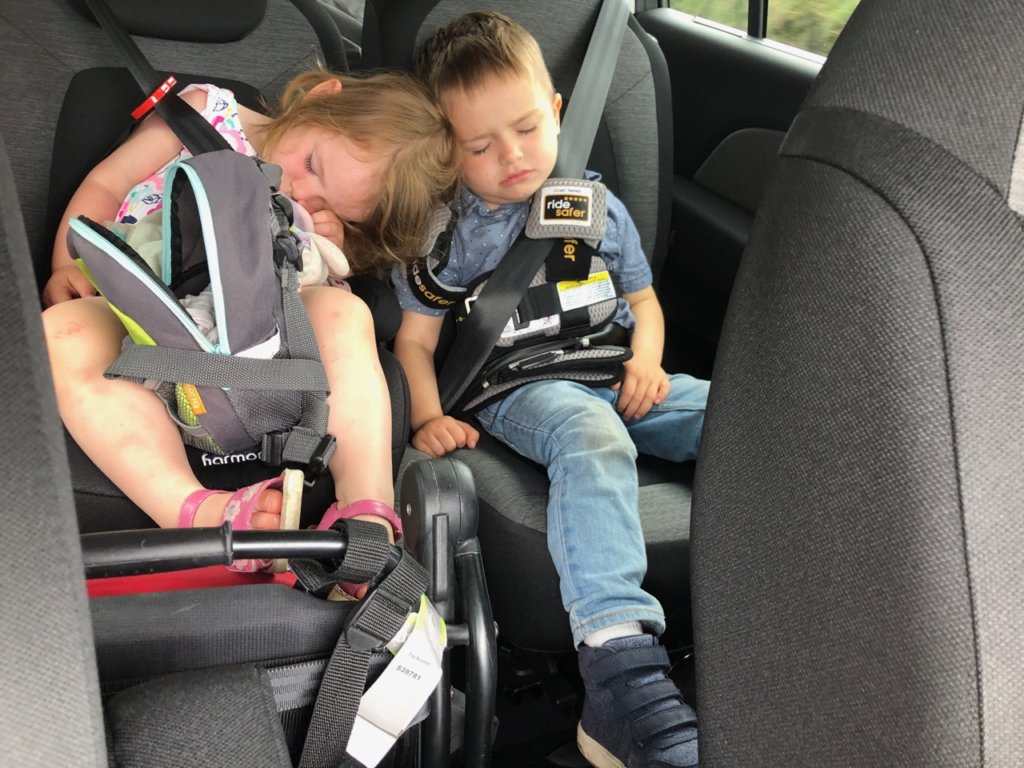
Clearly, this type of device will not provide as much protection as a convertible car seat as there is no impact protection (but neither is there in a backless booster seat).
Backless Booster
An alternative to the travel harness yet still a step up from the booster with back support is a booster without back support. We purchased two of the Harmony Juvenile Youth Backless Booster Car Seats (children 30-100 lb). These offer the lowest level of protection but are small and only cost about $20 from Walmart.
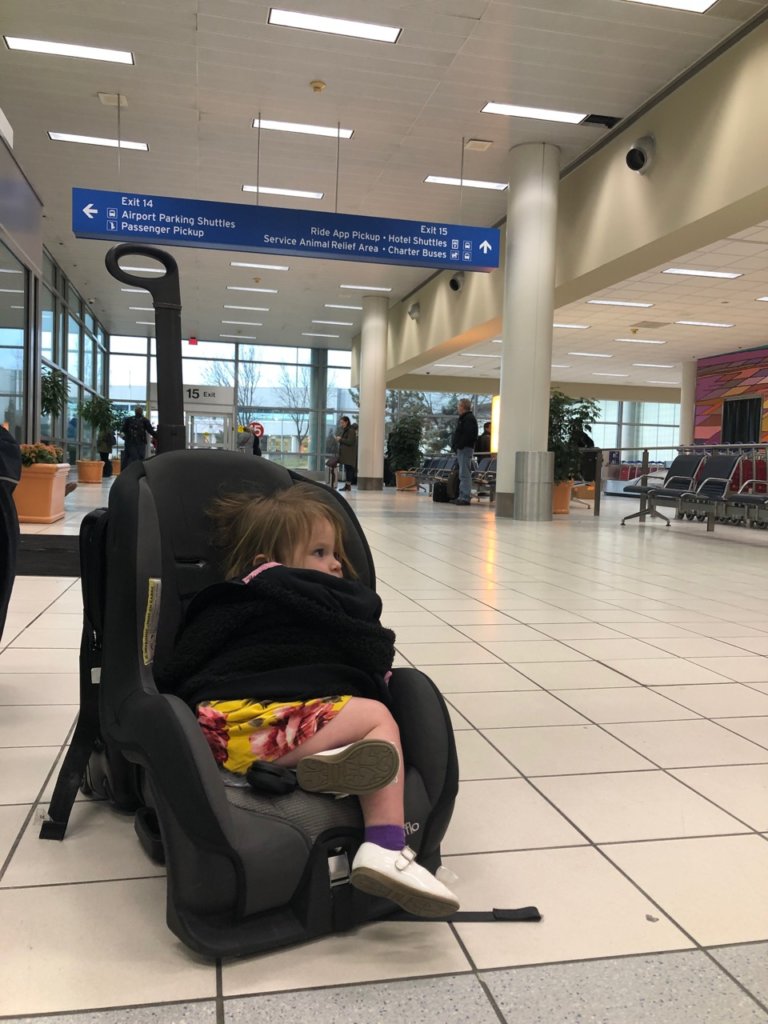
There are two significant risks to using either the backless booster or the travel harness. The first is that the child may not be mature enough to be trusted to not unbuckle themselves. The second risk is that the position of the seat belt can become sub-optimal as the child falls asleep (shoulder harness can creep up across the neck). The benefit of a booster with back support is that there are usually side supports to hold the kids’ head when they go to sleep (the Yumi has this).
Backless Boosters for 40 lb and Up
We currently use a combo of the Ride Safer Harness for our oldest and the Harmony Juvenile Youth Backless Booster Car Seat for our youngest. These get packed in a bag with maybe a backpack carrier or other odds and ends that will get checked. Both of these offer less protection than their car seats at home (convertible for the younger one – Yumi for the older).
We can’t wait to graduate up to the backless boosters that fold or inflate! The leader in the market for compact booster seats is the MiFold Grab-and-Go Booster. It folds to the size of a novel. It’s rated for children 40 lbs to 100 lbs with heights of 40″ to 57″ inches.
There is also the Bubble Bum Inflatable Backless Booster Car Seat that can be folded up into a little bag when deflated! It is rated for the same range of weight and height.
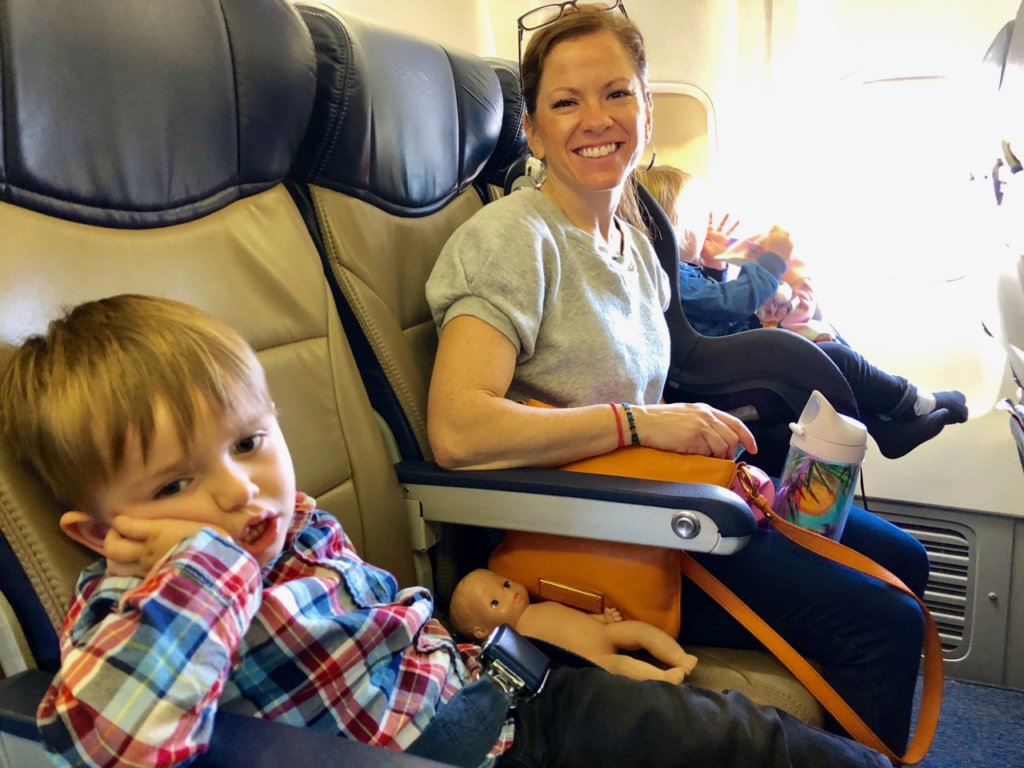
Pros and Cons
This is a ton of information, and the decision is obviously an important one. But, it’s stressful!
Before, during and after making this decision make sure to take a few moments to envision yourself at your destination with everyone having fun. See yourself happy with the decision that you made because if you have done your research you will be.
You’ve now seen how we made our decisions, and you now have the information to make the best choices for your family.
If this information was helpful for you and you want to join a community of people that are working towards finding more time to be present with their families, follow us on Instagram: @busyfindingtime.
Pin it!


You must be logged in to post a comment.